| Bethania Garage Inc. & Hard Dog Fabrication |  |
| Home > Hard Dog Roll Bars > Miata > Installation Instructions | |||||
|
M4 Sport Installation
Instructions
|
|||||
|
HARDWARE KIT:
|
TOOLS NEEDED:
|
|
|||
|
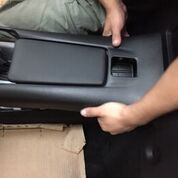
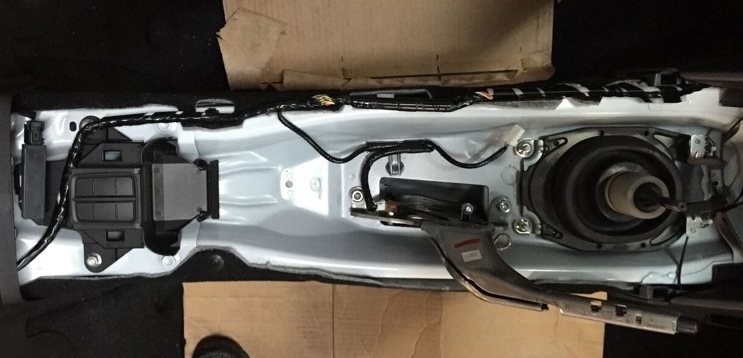
Start by removing the center console. Unscrew the shift knob and lift the silver ring that snaps around the shifter. With the ring removed the small rubber "catch-all" in front of the shifer can be lifted out exposing 2 Phillips head screws. Remove the screws and work your way back lifting and unsnapping the console. The snaps at the rear are pretty tough. There's an electrical plug in the center to disconnect the control.  
Once the console is removed, snap the covers over the stock hoops apart by inserting a blade, such as a putty knife or sharp chisel, into the seam that runs over the top. Remove the plastic panels at the bottom of the doors and pull the plastic rivets from the door jamb cover and large panel behind the seats. With the interior panels removed, the aluminum stock hoop assembly is exposed. Remove the attachments to the hoop assembly including the seat belt reels but do not try to unlug the wires to the reels. Remove the stock hoop assembly and the seat belt reel mounting bars. Pull up on the door seal protectors, unsnap and remove. Pull down on the top release handle and remove it. Pull up on the windblocker and remove it also. This one is tight and can be a little stubborn. Remove the seat belt reel bolts, but, per the stickers on the reels, DO NOT UNPLUG THE WIRES ATTCHED TO THE SEAT BELT REELS! Carefully lay the seatbelt reels out of the way with the wires attached. Remove the bolts holding the stock hoops and remove the assembly. Also remove the rubber top bumpers bolted to the outer "wings" that attaches to the hoop structure. With the stock hoops out of the way, remove the interior panels in the rear and loosen the small audio amp behind the passenger seat. Set the roll bar in place and snug the front plates using the
factory fasteners. Jack up the rear of the car evenly with both wheels off
the ground and support with properly placed jack stands. Do not raise one
side at a time as the chassis will twist and cause fitment issues. Remove the rear wheels and the
felt inner fender liners. Reinstall the audio amp. Slightly bend the bracket for clearance. Install the top latch using the supplied 1/4" bolts, washers and nuts and adjust to fit. Trim the plastic panels behind the seats to fit around the rearward braces. Install the remaining interior trim behind the bar. Loosely attach the horizontal trim to the cross bar with tie wraps as shown in the photo. Orient the tie wraps to allow access from behind as you will tighten these after the front panel is installed. Install the seat belt reel bars left and right using the supplied bolts to attach to the bar and the stock fastener on the outside. Reinstall the seat belt reels using the factory bolts. Be sure to route the wires out of harms way. Hold the large front panel in place and remove the tabs that are in conflict with the bar and trim around the opening. Reinstall the interior panels and console using the stock fasteners. Reach around the bar and snug, not too tight, the tie wraps holding the rear panel to the bar. If you have the interior panel covers, clean the plastic panels with alcohol, peel and stick the covers as shown.
Updated
July 9, 2010 1:27 PM
| |||||